Juniper has come out with their latest version of VSRX 2.0 (formerly called as Firefly or VSRX 1.0). This release supports a broader set of features and is more performant than the earlier version. More details about the product can be obtained here
I had recently tried out instantiating VSRX 2.0 on Virtualbox. The process required a few minor tweaks and this blog will cover them.
Prerequisites
The conversion will take a few seconds and you should have the VDI created in the directory. At this piont, you can proceed to create a VM by following these steps:

Open VirtualBox and Create a new VM and set Type: Linux & Version: Red Hat (64 bit):

In the next screen, set the memory to 4096 MB:

In the next screen, browse and select the VDI file created earlier as the harddisk:

Click Create. The UI will show the VM on the left hand tree. Click on it and select its settings:

In the settings go to System => Processor and set the no. of CPUs to 2, Enable PAE/NX:

Disable the Audio:

In the Network, I want the port fxp0 to be on mgmt-net and ge-0/0/0 can be on the data-net. I will most probably set my data port to Trunk mode. In order to create the mgmt-net, I have gone to File => Preferences => Networks => Host only networks and created one networks:
Virtual box Host Only Ethernet Adapter (mgmt-net ) : 192.168.10.0/24

Now, In the VM settings, click on network and set the Adapter 1 : Host Only Adapter --> Virtual box Host Only Ethernet Adapter (192.168.10.0/24)

Enable Serial Ports
Now Click Ok and Start the VM. The VSRX should start up and you should be presented with the console. By default the system comes up with the "root" user enabled without a password.
Lets say you want to SSH to your VSRX from your host. You can do the following configuration:
fxp0 is a special interface which provides out-of-band access to your SRX over the management plane.
Now from the host you can open putty and SSH to 192.168.10.101 and proceed with further configuration.
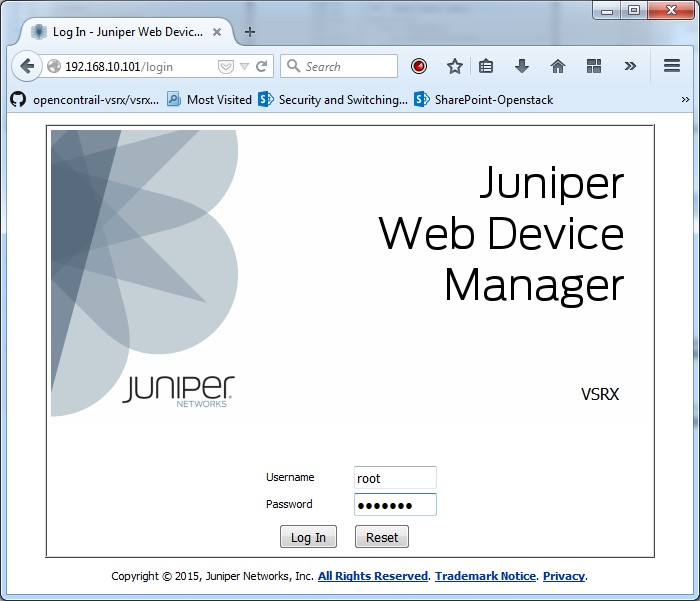
You can also open the Web UI and configure the SRX by typing http://192.168.10.101 in the browser. You will be presented with the below window. The creds will be root/yourpassword to login.

I had recently tried out instantiating VSRX 2.0 on Virtualbox. The process required a few minor tweaks and this blog will cover them.
Prerequisites
- Download VSRX KVM Applicance from Juniper Website (You need to take care of the legal formalities)
- Virtualbox 4.3 and above
- Download qemu-img converter for Windows
#qemu-img.exe convert media-srx-ffp-vsrx-vmdisk-15.1X49-D15.4.qcow2 -O vdi vsrx2.0-1.vdi
The conversion will take a few seconds and you should have the VDI created in the directory. At this piont, you can proceed to create a VM by following these steps:
Open VirtualBox and Create a new VM and set Type: Linux & Version: Red Hat (64 bit):
In the next screen, set the memory to 4096 MB:
In the next screen, browse and select the VDI file created earlier as the harddisk:
Click Create. The UI will show the VM on the left hand tree. Click on it and select its settings:
In the settings go to System => Processor and set the no. of CPUs to 2, Enable PAE/NX:
Disable the Audio:
In the Network, I want the port fxp0 to be on mgmt-net and ge-0/0/0 can be on the data-net. I will most probably set my data port to Trunk mode. In order to create the mgmt-net, I have gone to File => Preferences => Networks => Host only networks and created one networks:
Virtual box Host Only Ethernet Adapter (mgmt-net ) : 192.168.10.0/24
Now, In the VM settings, click on network and set the Adapter 1 : Host Only Adapter --> Virtual box Host Only Ethernet Adapter (192.168.10.0/24)
Enable Serial Ports
Now Click Ok and Start the VM. The VSRX should start up and you should be presented with the console. By default the system comes up with the "root" user enabled without a password.
Lets say you want to SSH to your VSRX from your host. You can do the following configuration:
#Set the root password
set system root-authentication plain-text-password -- set your password

#Set management ip on fxp0
set interfaces fxp0 unit 0 family inet address 192.168.10.101/24
fxp0 is a special interface which provides out-of-band access to your SRX over the management plane.
Now from the host you can open putty and SSH to 192.168.10.101 and proceed with further configuration.
You can also open the Web UI and configure the SRX by typing http://192.168.10.101 in the browser. You will be presented with the below window. The creds will be root/yourpassword to login.
Comments
I followed your instructions. vSRX is coming up & I can access the VM thru the fxp0-IP. However - no ge-interfaces showing up:
root> show interfaces terse ge-0/0/0
error: device ge-0/0/0 not found
Can you please share the network-section of your .vbox-file? Or do you have a suspicion, why no ge-interface is showing up?
TIY,
KAi